
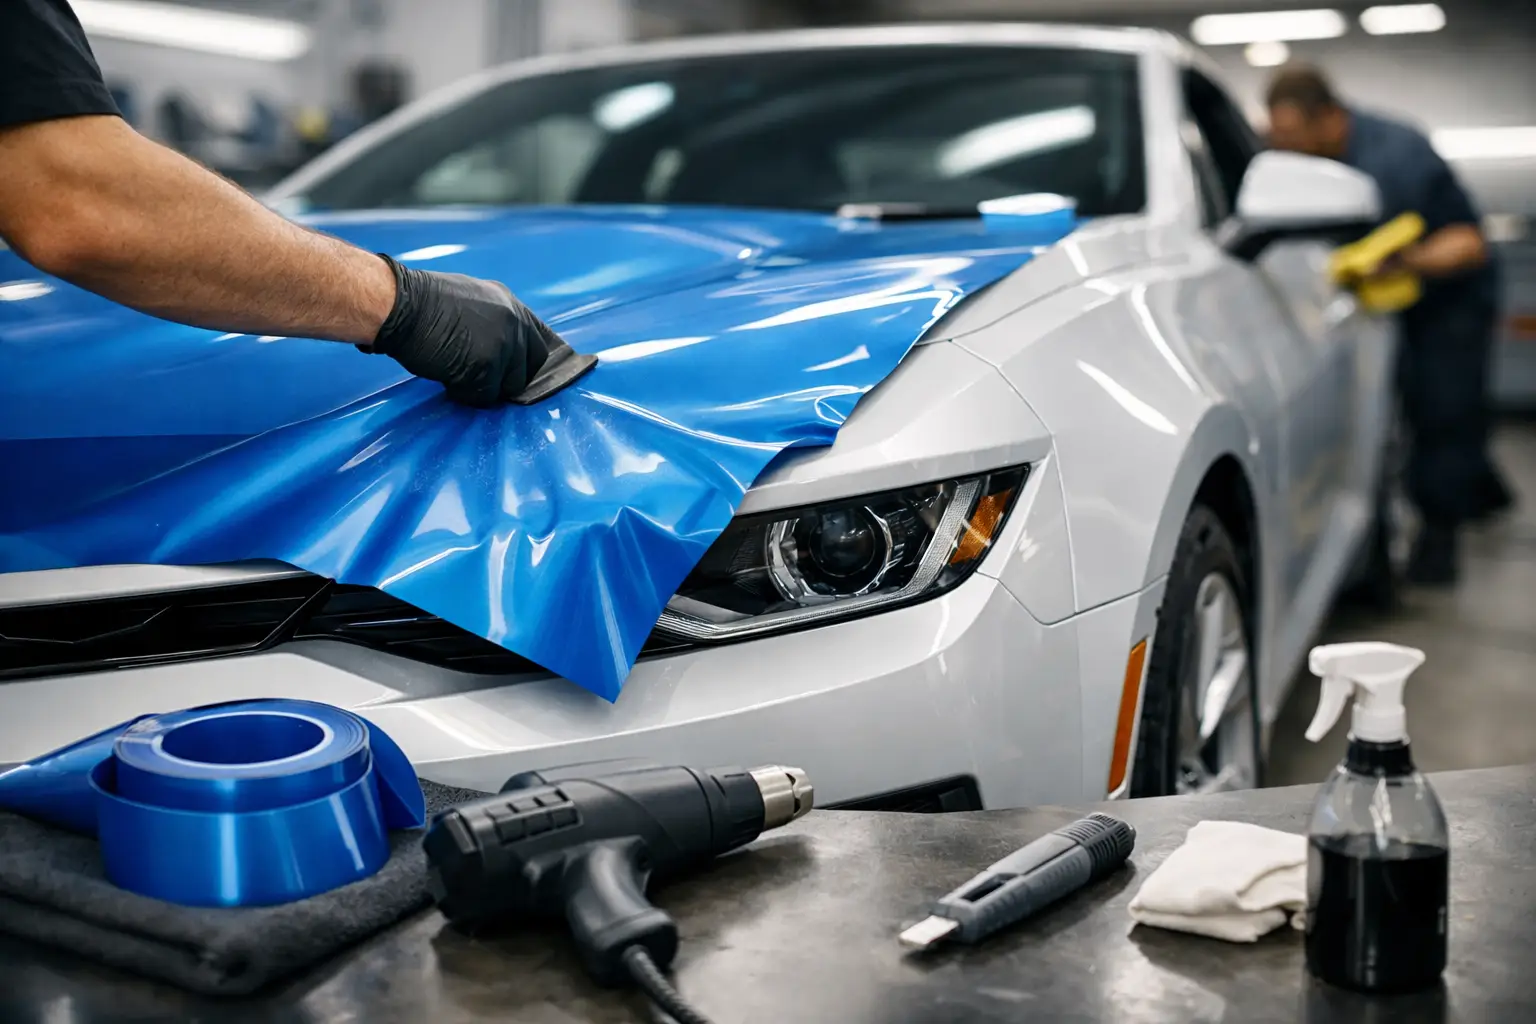
A vinyl wrap is only as impressive as the surface beneath it. Whether you are turning a work truck into a 24/7 Charleston billboard or giving your personal ride a bold color change, taking time to prepare a car for a vinyl wrap protects the finished look, installation quality, and long-term performance.
Wrap film is designed to conform tightly to painted panels, contours, and trim. It is not designed to hide failing clear coat, silicone residue, deep paint damage, or loose body parts. A little preparation before installation helps your graphics look sharp from every angle and gives the vinyl the clean foundation it needs to hold strong.
Start With an Honest Paint and Body Inspection
Before choosing colors, graphics, or coverage, walk around the vehicle in good light. Look closely at the hood, roof, mirrors, bumpers, door edges, rocker panels, and around handles. These are high-contact areas where paint damage and contamination tend to show up first.
Small rock chips, light scratches, and minor imperfections can often remain under a wrap. Vinyl may soften their appearance, especially with printed graphics or darker finishes, but it will not make them disappear. Deep scratches, dents, rust, peeling clear coat, cracked paint, and previous bodywork deserve attention before the wrap goes on.
Peeling paint is the biggest red flag. When vinyl is removed later, weak paint can come off with it. That is not a wrap failure – it is a sign that the paint surface was already compromised. If you see flaking clear coat, bubbling paint, corrosion, or a panel that feels rough and unstable, repair and repaint it first. Fresh paint also needs adequate curing time before wrap installation. Your body shop and wrap installer can help determine the right timeline based on the paint system used.
For commercial vehicles, inspect more than the painted body. Check box-truck corners, trailer rivets, ladder racks, utility doors, lift gates, and any existing decals. A wrap can turn a service vehicle into a high-visibility marketing asset, but only if the surfaces are secure enough for the film to perform.
Clean the Car Beyond a Normal Car Wash
A quick drive-through wash is not enough to prepare your car for vinyl wrap installation. Road film, wax, tire dressing, polish, tree sap, bug residue, fuel drips, and oily fingerprints can interfere with adhesion, particularly around edges and recessed areas.
Start with a thorough exterior wash using products that do not leave wax or shine-enhancing residue behind. Pay extra attention to panel gaps, emblems, door jambs, fuel doors, wheel arches, mirrors, and the lower sections of the vehicle. Those areas collect grime that can migrate onto the paint while the installer works.
Do not apply a fresh wax, ceramic spray, paint sealant, or glossy detail product before your appointment. These products are great for a bare vehicle when used appropriately, but they create a barrier that makes vinyl adhesion more difficult. If you recently had your car detailed, let your installer know exactly what was used and when.
Professional installation prep includes specialty surface cleaning, but showing up with a genuinely clean vehicle saves time and helps keep the work area under control. For a work van or truck that sees job sites every day, schedule cleaning after its last muddy, dusty, or coastal route – not before.
Watch for Silicone and Tire Shine
Silicone-based dressings are especially troublesome around trim, bumpers, and wheel wells. Overspray can travel farther than expected and leave a slick film on painted surfaces. Avoid detailing sprays and tire shine in the days leading up to your installation. If the vehicle has been recently detailed, be upfront about it. Clear information helps the installer plan the proper prep rather than discovering contamination after the project begins.
Remove What Can Get in the Way
The cleanest wrap results usually come from proper access to edges, gaps, and body lines. Depending on the vehicle and the scope of the project, that may mean removing or loosening items such as license plates, antennae, badges, door handles, headlights, taillights, mirrors, trim pieces, or roof accessories.
Not every component needs to come off. It depends on the vehicle, the material being applied, and whether you are getting a full color change, partial wrap, commercial graphics, chrome delete, or paint protection film. A simple door logo installation calls for far less disassembly than a full wrap with wrapped edges and a color change in the door jamb areas.
Do not remove complicated electronics or safety-related components on your own unless you are qualified to do so. Cameras, sensors, modern lighting assemblies, and wiring can create expensive problems if handled incorrectly. A professional wrap team can explain what they need access to and whether any specialty removal is required.
Before drop-off, clear personal items from door pockets, the dashboard, cargo areas, truck beds, and roof racks. If an installer needs to open doors, access panels, or move the vehicle, a clutter-free interior makes the process easier. For fleet and contractor vehicles, remove loose tools, job materials, and ladders if they block wrapped sections.
Fix Mechanical Issues Before the Wrap Appointment
A wrap appointment is not the best time to discover a leaking fuel door, failing door latch, loose bumper, or broken window seal. Vinyl needs stable panels and predictable access points. If a bumper is sagging or a trim piece is lifting, fix it before installation so the film is not applied to a moving target.
Check for fluid leaks, especially around fuel doors, hatch areas, and truck bodies. Fuel, oil, hydraulic fluid, and washer fluid can affect adhesion and stain the film. If you operate a service fleet, make sure the vehicle is mechanically ready to be off the road for the scheduled installation period. A wrapped truck parked in the shop cannot generate leads, make deliveries, or get to the next job.
This is also the time to decide whether accessories need to stay, move, or go. A new ladder rack, magnetic signs, aftermarket fender flares, or replacement mirrors installed after wrapping can interrupt graphics and create visible seams. If an upgrade is already planned, it is often smarter to complete it before design and installation begin.
Share the Full Story of Your Vehicle
Good wrap work starts well before the vinyl reaches the car. Tell your wrap provider about repainting, body repairs, ceramic coatings, prior wraps, decals, damaged panels, replacement parts, and planned accessories. Photos are helpful, but an in-person review may reveal issues that are hard to see on a screen.
For commercial projects, share the exact vehicle year, make, model, roof height, wheelbase, box dimensions, trailer length, and any equipment mounted on the exterior. Those details affect design scale, production, material planning, and installation time. A logo that looks great on a proof must also read clearly from the road, where your vehicle can earn thousands of local impressions every day.
For personal wraps, discuss your expectations for finish and coverage. Matte, satin, gloss, metallic, color-shifting, textured, and printed films all react differently to light and body contours. A color change may require more component removal and detail work than a bold partial graphic package. The right choice depends on your goals, budget, vehicle condition, and how much of the original paint you want concealed.
Plan for the Right Timing and Environment
Vinyl installation is precision work. It should happen in a controlled indoor environment, not in a driveway during a humid Lowcountry afternoon. Dust, rain, wind, excessive heat, and sudden temperature changes make surface preparation and film handling harder.
Schedule your vehicle when you can leave it with the installer for the needed time. Do not plan a long road trip, boat launch, construction site visit, or major event immediately after drop-off. The duration varies widely: smaller graphic packages may move quickly, while full wraps, fleet branding, complex custom designs, and extensive paint protection can require more planning and shop time.
Wash the vehicle before drop-off, but avoid washing it immediately after pickup unless your installer provides different care instructions. Freshly installed film benefits from time to settle, especially around edges and recessed details. If you are wrapping a business vehicle, coordinate drivers and routes in advance so the project does not disrupt operations.
Bring the Right Details for Commercial Graphics
A commercial wrap should do more than look good in the parking lot. It needs to tell passing drivers who you are, what you do, and how to reach you in seconds. Before your appointment, confirm your final logo files, brand colors, phone number, website text, service area, and any required licensing or fleet information.
Avoid trying to say everything on the vehicle. The strongest designs prioritize a clear brand name, a readable service message, and an easy way to make contact. A contractor truck, food trailer, delivery van, or box truck has valuable visual real estate, but crowded graphics can weaken the message from the road.
Charleston Wraps can help turn those details into vehicle graphics built for real-world visibility, not just a nice-looking proof. Arriving prepared gives the design and installation team more room to focus on the transformation.
A Final Check Before Drop-Off
The day before installation, take one last walk around the vehicle. Make sure it is washed, dry, empty of loose cargo, and free of fresh dressing products. Photograph existing paint damage for your records, bring any agreed-upon accessories or artwork, and let the installer know if anything has changed since the estimate.
The best preparation is straightforward: give the wrap a clean, sound surface and give the installer accurate information. Do that, and your finished vehicle is ready to make a strong first impression at every stoplight, job site, neighborhood, and parking lot.