
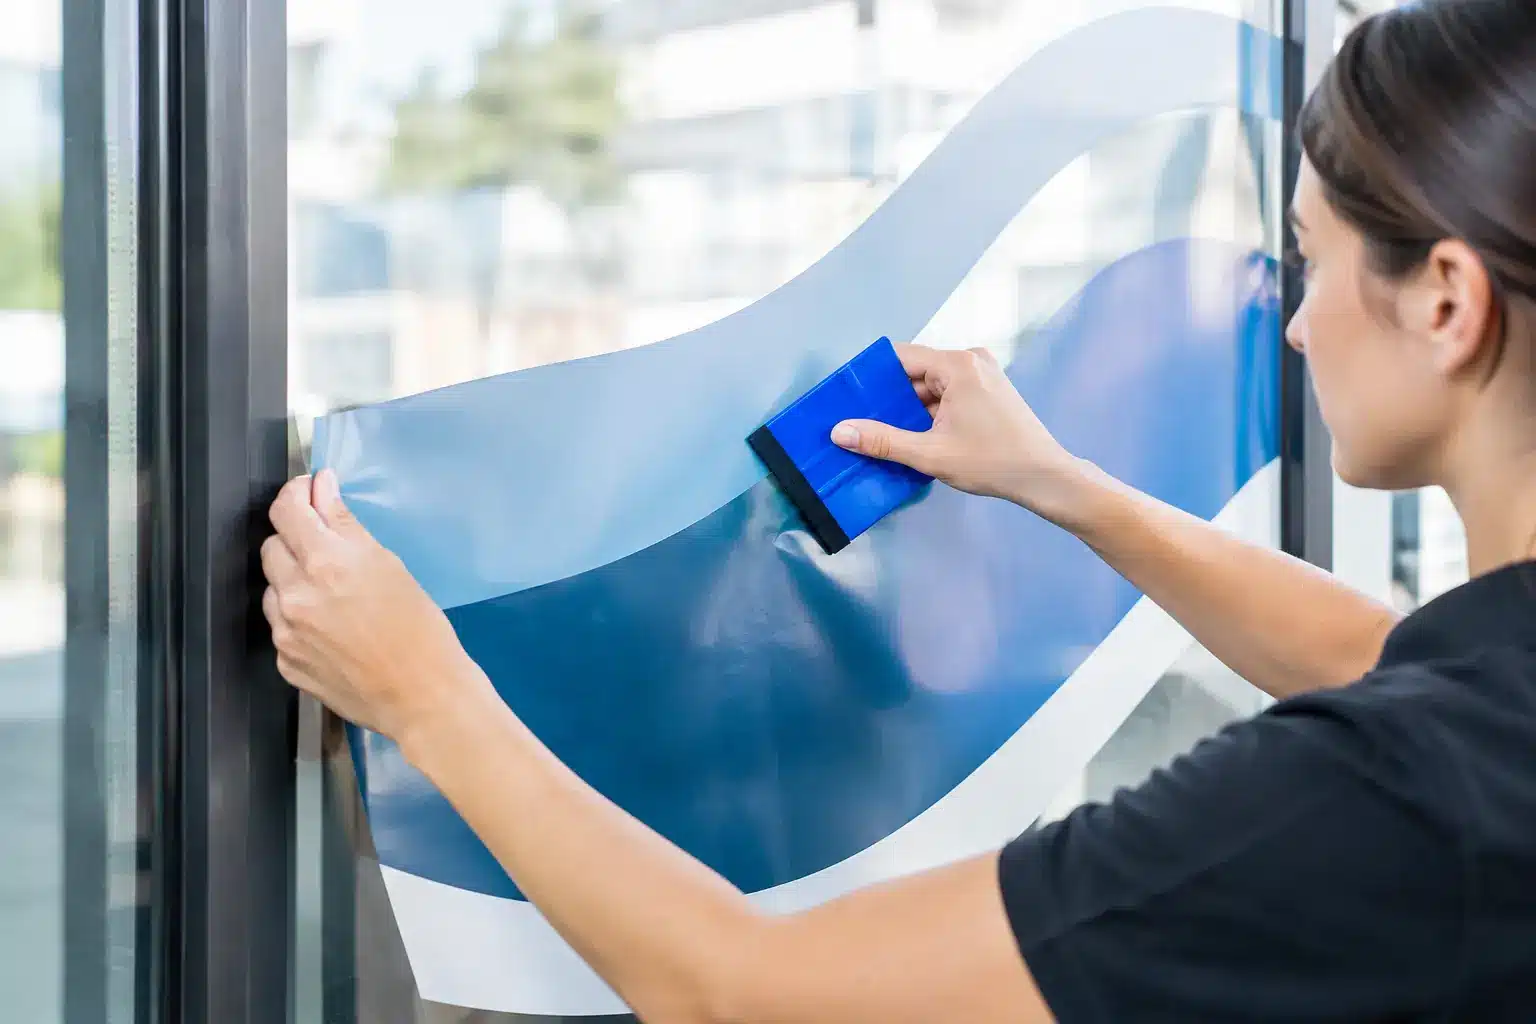
A window graphic can make a storefront, service vehicle, office, or event space work harder for your brand. But learning how to apply window graphics is about more than sticking vinyl to glass. The difference between a sharp, professional display and a wrinkled graphic with lifting edges comes down to surface prep, material choice, and a patient installation process.
For simple decals, hours-of-operation lettering, and small promotional graphics, a careful DIY application can work well. For full storefront coverage, perforated window film, layered designs, or graphics that need to represent your business every day, professional installation is usually the smarter investment. Your windows are prime visual real estate. They should look intentional from the sidewalk, the parking lot, and the street.
Start With the Right Type of Window Graphic
Not every vinyl graphic belongs on every piece of glass. Before measuring or cleaning, decide what the graphic needs to do.
Cut vinyl lettering is a strong choice for business names, store hours, phone numbers, and simple messaging. It delivers a clean look without blocking views into the space. Printed opaque vinyl works well for logos, promotions, privacy panels, and high-color designs where visibility matters more than seeing through the glass.
Perforated window film is commonly used on vehicle windows and storefronts when you want a full-color graphic on the outside with partial visibility from the inside. It is not a one-size-fits-all solution, though. The view from inside is reduced, lighting conditions affect readability, and the film needs proper lamination and edge finishing to hold up outdoors.
Frosted or etched-look film adds privacy without making a space feel closed off. It is especially useful for office glass, conference rooms, salons, retail interiors, and front-entry doors. If the goal is visibility after dark, consider how interior lighting will change the look of the graphic from outside.
Measure the Glass – Then Measure Again
A great design cannot rescue a graphic that is cut to the wrong size. Measure the actual visible glass area, not just the window frame. Note mullions, door handles, locks, seals, push bars, and any curves or uneven edges that could affect placement.
For storefront windows, stand across the street or parking area and look at the full façade. A logo that looks balanced on one pane may disappear when it competes with reflections, neighboring signage, or a busy street. Think about the viewing distance before finalizing the design. Small type might look crisp up close but become unreadable from the road.
For vehicle window graphics, check local visibility and safety requirements before choosing a coverage level. Rear window perforated film can create a powerful branded look, but it must be installed in a way that maintains practical visibility and follows applicable regulations.
Clean the Surface Like It Matters
Glass may look clean and still carry dust, fingerprints, silicone residue, wax, oil, or airborne grime. Any contamination left behind can create bumps, prevent adhesion, or cause edges to lift early.
Use a lint-free cloth and a glass-safe cleaner that does not leave a residue. Avoid cleaners with waxes or additives designed to create shine. For stubborn adhesive residue or greasy spots, use an appropriate surface-prep product and wipe the glass again until it is completely clean.
Pay special attention to the edges and corners. Dirt collects where glass meets weatherstripping, frames, and seals. If debris gets under the vinyl during installation, it can show through the finished graphic or create a weak point where moisture gets in.
Once cleaned, do not keep touching the glass with bare hands. Finger oils can interfere with adhesion, especially around narrow lettering and small graphic details.
How to Apply Window Graphics With the Hinge Method
For most small-to-medium decals and transfer-tape lettering, the hinge method gives you control without needing to hold the entire graphic in midair. It is a practical approach for dry application on clean, smooth glass.
First, position the graphic on the window with low-tack masking tape. Step back and check the level, spacing, and alignment from the normal viewing area. A storefront logo should be centered based on the overall visual field, not just what looks centered from one side of the door.
Run a horizontal strip of masking tape across the top edge of the graphic to create a hinge. Lift the graphic upward, peel away the backing paper slowly, and keep the exposed adhesive from touching the glass until you are ready to lay it down.
Starting at the taped edge, use a firm squeegee to press the graphic onto the glass. Work from the center outward with overlapping strokes. This pushes air toward the edges instead of trapping it beneath the vinyl. Keep the material supported as you work so it does not fold or stretch.
Once the graphic is fully applied, squeegee it again with steady pressure. Then remove the transfer tape slowly at a sharp angle, pulling it back against itself rather than straight away from the window. If a letter or detail starts to lift, lay the tape back down, press that area again, and continue more slowly.
When a Wet Application Helps
A wet application uses a light application fluid to give you extra repositioning time. It can be useful for larger solid vinyl panels, broad printed graphics, and jobs where exact placement matters. However, it is not the right method for every material.
Wet application can make small lettering harder to manage and can extend drying time. It is generally not the best choice for perforated window film, certain adhesive systems, or graphics with exposed paper-based components. If you use a fluid, use only a light, even mist. Too much liquid can delay adhesion and create problems around edges.
The trade-off is simple: wet application offers more adjustment, while dry application provides faster initial tack and is often better for detailed graphics. When in doubt, follow the film manufacturer’s recommended installation method. Premium materials are engineered for specific conditions, and ignoring those instructions can shorten the life of the graphic.
Prevent Bubbles, Wrinkles, and Edge Lift
Most application failures happen for predictable reasons. Bubbles usually come from laying vinyl down too quickly or squeegeeing in random directions. Wrinkles happen when a graphic is stretched, folded, or forced around an area it was not designed to cover. Edge lift often starts with poor cleaning, insufficient pressure, or installation in the wrong weather conditions.
Install window graphics in a clean, controlled environment whenever possible. Extreme heat makes adhesive aggressively tacky and harder to reposition. Cold temperatures can reduce adhesion. Humidity, wind, and airborne dust are especially frustrating for exterior storefront work.
A tiny air bubble in a solid section can sometimes be released with a very fine pinprick, followed by pressure from the outside toward the hole. Do not puncture perforated film, textured film, or every small bubble you see. Many minor bubbles can settle as the adhesive cures, while unnecessary punctures can invite moisture and dirt.
After installation, inspect every edge, corner, letter, and narrow stroke. These areas need firm pressure because they are the first places a graphic will fail if the bond is weak.
Plan for Durability, Not Just Installation Day
The best-looking window graphics are designed for where they will live. Exterior-facing glass gets sun exposure, rain, temperature swings, sprinkler overspray, and frequent cleaning. Interior graphics avoid much of that wear but may need to work around glare, lighting, and foot traffic.
For a retail storefront, short-term promotional graphics may justify a more economical material. For permanent business branding, use a higher-performance film and laminate suited to the exposure level. A contractor’s fleet or food truck may benefit from window graphics that tie into a larger vehicle wrap, creating a recognizable look that keeps working at every stop.
Give newly installed graphics time to cure before aggressive washing or cleaning. Use a soft cloth and non-abrasive cleaner afterward. Avoid scraping, harsh solvents, and high-pressure water aimed directly at the edges.
Know When to Bring in a Pro
DIY window graphics are a reasonable option when the design is small, the glass is flat, and a minor imperfection will not hurt the result. The equation changes when the graphic is a major part of your storefront branding, wraps multiple panes, includes perforated film, or needs to line up with existing signs and architectural features.
Professional installers bring more than a squeegee. They handle accurate site measurements, material selection, production tolerances, layout planning, surface preparation, and the small adjustments that keep a large installation looking clean. For businesses competing for attention around Charleston, those details directly affect how credible your brand looks from the street.
Charleston Wraps helps local businesses turn windows, vehicles, retail environments, and event surfaces into high-impact branded spaces. A graphic should not merely fill glass. It should make people notice your name, understand what you do, and remember you when they need your service.
Before you apply anything, look at the window from your customer’s point of view. If the message is clear, the placement is deliberate, and the finish looks built to last, your glass has become more than a surface – it has become a reason for people to walk in.